Drip irrigation for the vegetable garden: parts, setup and run times
How to put together a drip system for a home vegetable garden, how much water the beds need in midsummer and how long to run it, with a worked example.
Hannah Reyes · · 4 min read
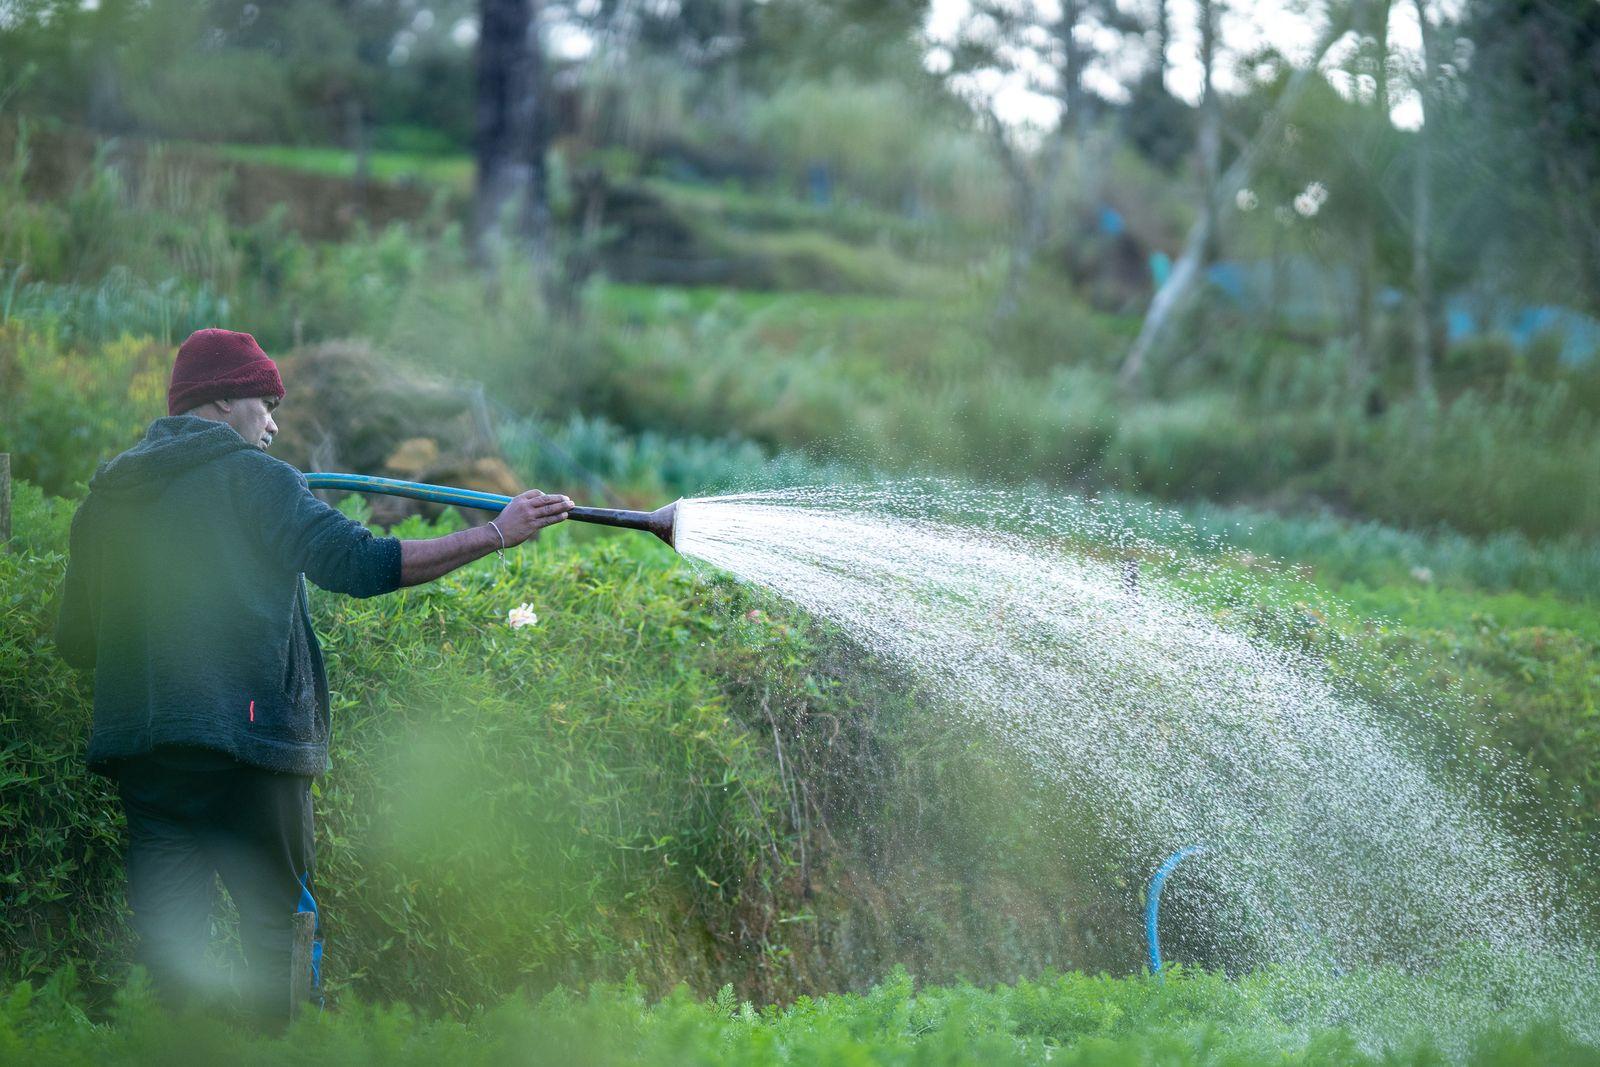
Drip irrigation delivers water right at the roots, a little at a time, without wetting the leaves. Compared with a sprinkler, less water is lost to evaporation, fewer weeds come up between the rows, and diseases that spread on wet foliage, such as early blight and Septoria leaf spot on tomatoes, get fewer chances.
A system for a home garden goes together in an afternoon. The part that takes some thought is the math: how much water the beds need, and how long the system has to run to deliver it.
The parts of a system
- Timer: threads onto the outdoor faucet and turns the water on at the times you set. A battery-powered hose-end timer is enough for a home garden.
- Backflow preventer: a small valve that keeps garden water from being siphoned back into your household supply. Most local plumbing codes require one.
- Filter: a 150- or 200-mesh screen filter catches the grit that clogs emitters.
- Pressure regulator: household water pressure usually runs 40–80 psi, while drip systems work best around 25 psi. Without a regulator, fittings pop apart.
- ½-inch tubing: the polyethylene supply line that carries water from the faucet to the head of each bed. The size isn’t standard, since outside diameters run from about 0.600 to 0.710 inch depending on the brand, so buy tubing and fittings from the same system.
- Dripline and emitters: ½-inch dripline comes with emitters built in every 12 or 18 inches, usually 0.5 or 1 gph (gallons per hour); ¼-inch micro tubing, with emitters every 6 or 12 inches, suits tight rows and containers. For single plants such as tomatoes and squash, punch 1- or 2-gph button emitters into plain tubing right where you need them.
- Fittings and end caps: tees and elbows, a hole punch, an end cap for each line and a few goof plugs for holes punched in the wrong place.
How much water the garden needs
In midsummer, a vegetable garden in full production needs about 1–1.5 inches of water a week, rain included. A good mulch brings that down, hot and windy weeks push it up, and in the arid West and Southwest beds can use 2 inches a week in July. One inch of water over one square foot is about 0.62 gallon, which makes the math easy.
Run time comes down to one division. Take a 4 × 8-foot raised bed, 32 square feet, with three rows of dripline carrying 1-gph emitters every 12 inches.
- Emitters: three 8-foot rows with one emitter every foot make 24 emitters.
- Flow: 24 emitters at 1 gph deliver 24 gallons an hour.
- Need: 1.5 inches a week over 32 square feet is about 30 gallons (32 × 0.62 × 1.5).
- Run time: 30 gallons at 24 gallons an hour is 1 hour and 15 minutes a week, or about 25 minutes three times a week.
In sandy soil, which holds little water, use shorter, more frequent runs and higher-flow emitters, 1 or 2 gph. In clay, which soaks water up slowly, use 0.5-gph emitters and longer runs every two to three days, so the water has time to sink in instead of running off. How your crops’ needs change from May to September is part of what we cover in our Kitchen Garden Masterclass.
Setup and schedule
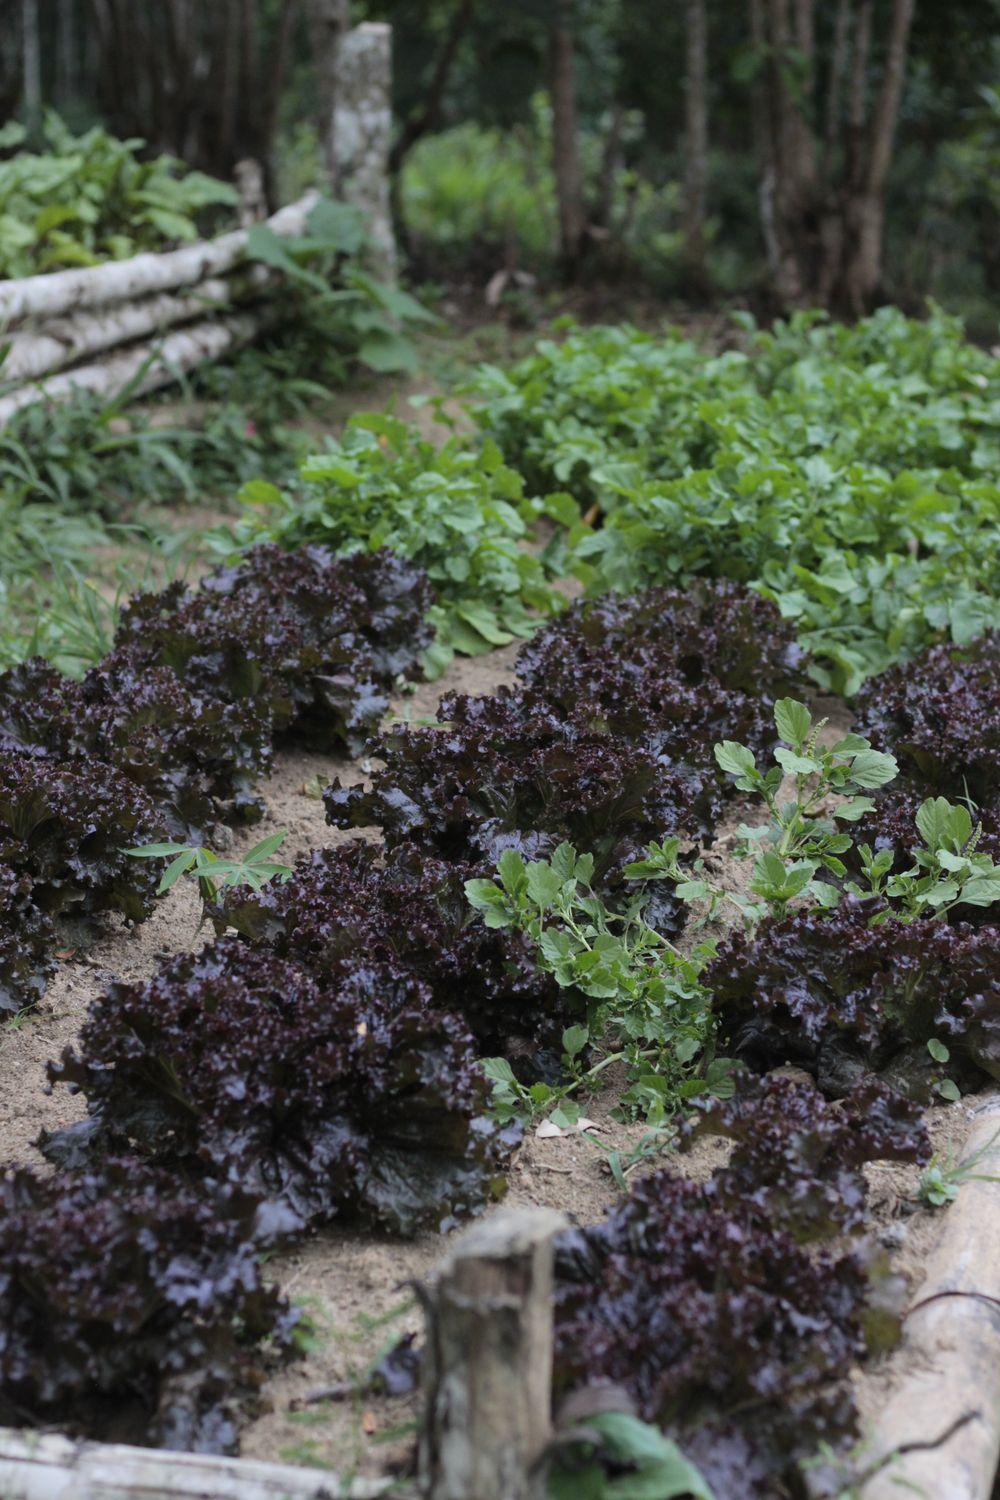
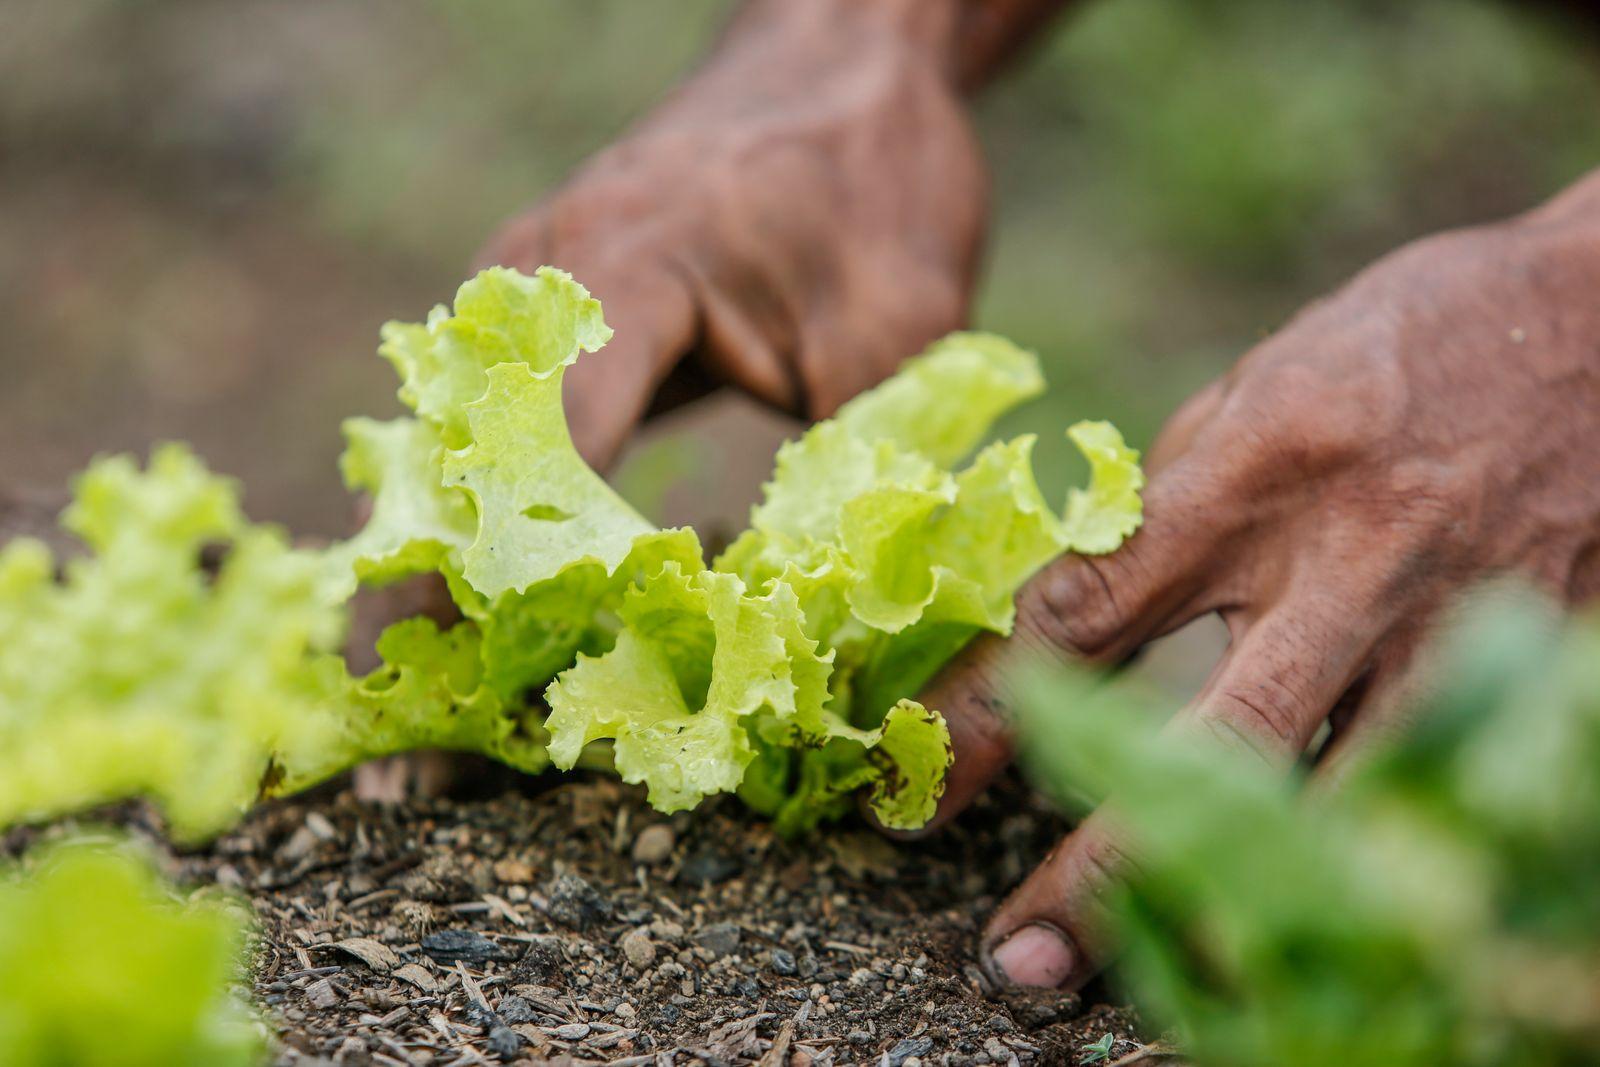
Lay the dripline along the rows, 2–4 inches from the plant stems. Tomatoes, squash and peppers need one line per row; dense crops such as lettuce, carrots and onions need lines every 12 inches. Before you cap the ends, let the water run for a few minutes to flush out any debris from the installation.
On long runs or sloping ground, choose pressure-compensating (PC) emitters, which put out the same amount of water at the start and the end of the line. Once everything works, cover the lines with straw, as described in our article on mulching: even less water evaporates, and the tubing lasts longer out of the sun.
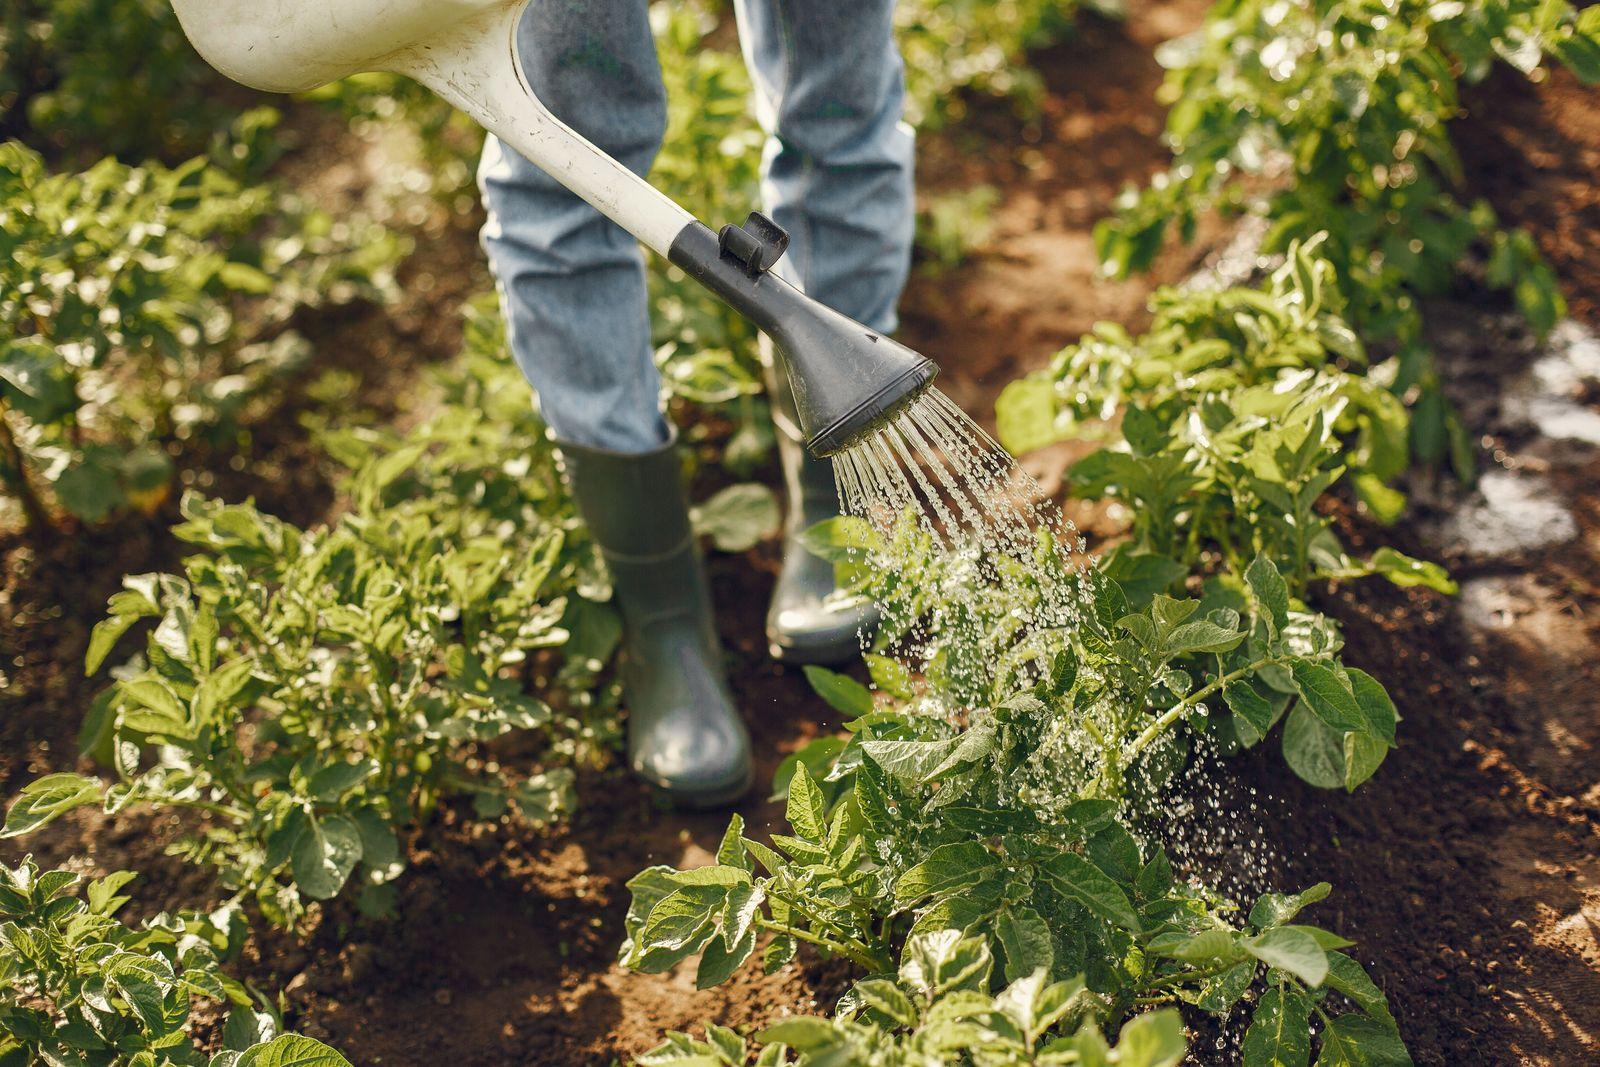
Schedule runs for early morning, between 5 and 7 a.m. The water soaks in before the heat of the day, less is lost to evaporation, and the plants go into the afternoon with full reserves. Evening is second best: the soil stays damp all night, and slugs take advantage. After a soaking rain, pause the schedule for a day or two; many timers have a rain-delay button for exactly this.
Tip: Dig, don’t guess
A couple of hours after the first run, dig with a trowel next to an emitter. The soil should be moist 8–12 inches down, where most of the roots are working. If it’s wet only near the surface, run the system longer; if the water has gone much deeper, cut back.
On a balcony or patio
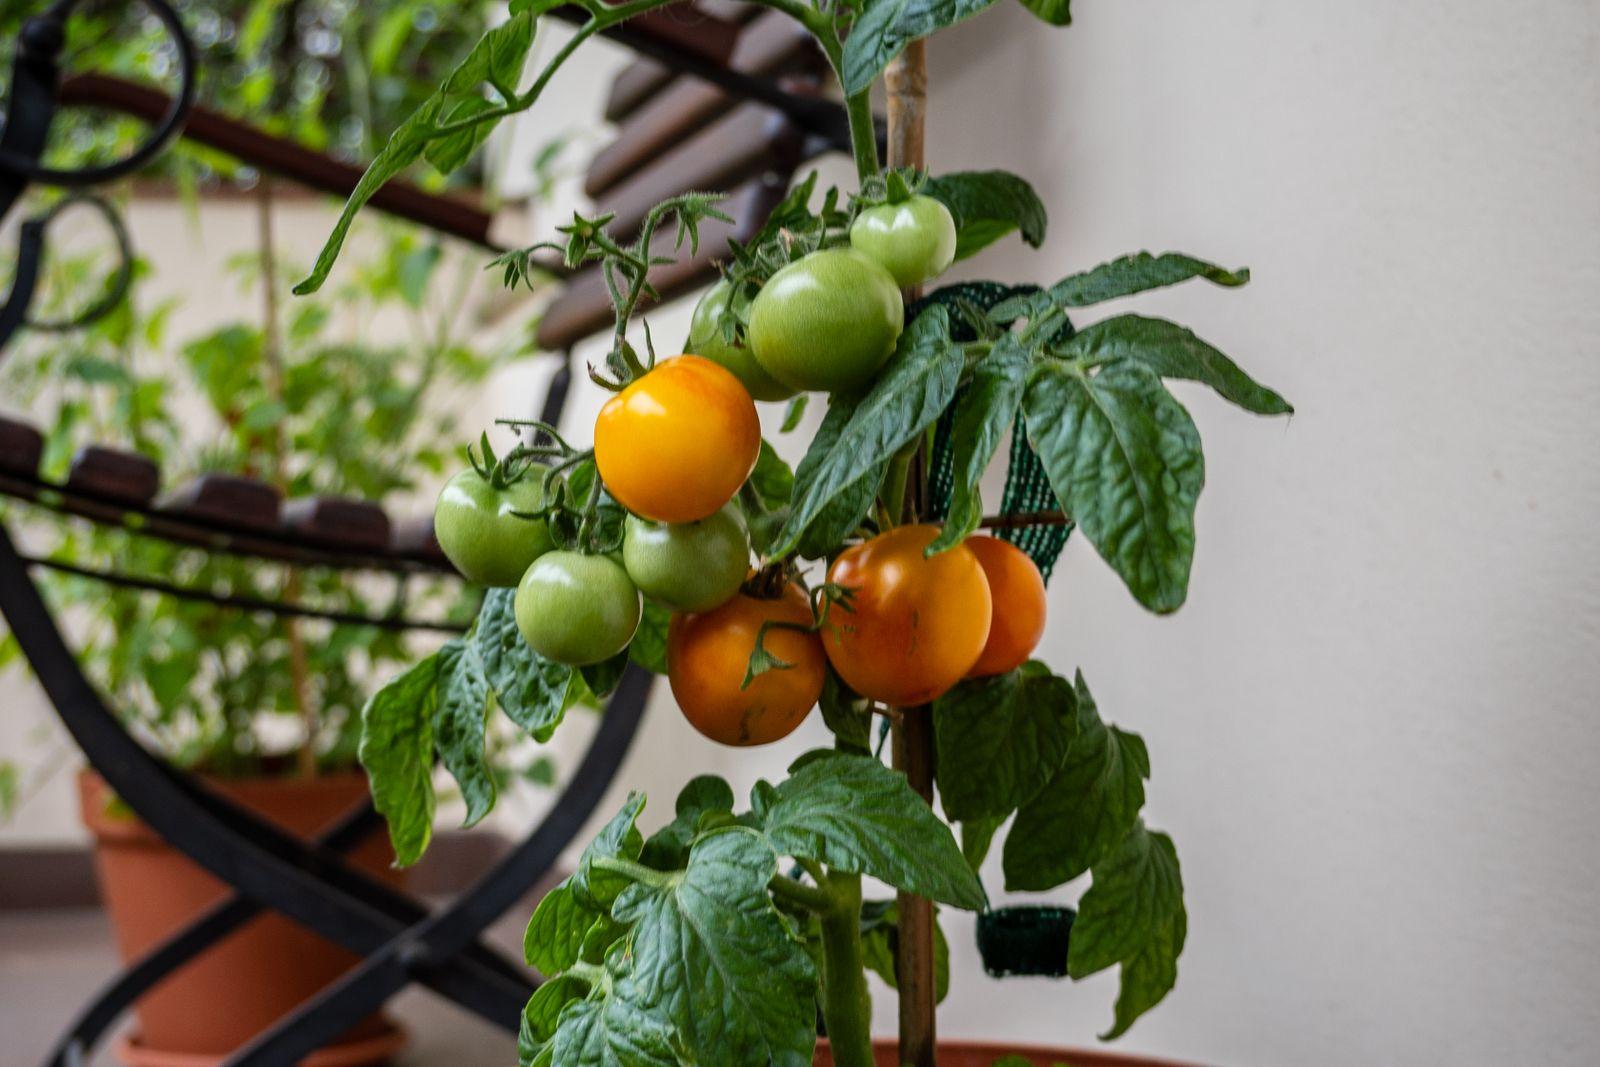
The same system works for containers: a ½-inch line along the railing, with ¼-inch micro tubing running to each pot and one emitter per pot, two for big ones. In July, a tomato in a 10-gallon container can use half a gallon a day or more, and a timer lets you go away for a few days without coming home to wilted plants. Containers, varieties and care are in our article on growing tomatoes on a balcony.
One-to-one · 2 sessions
Balcony & Patio Plan
A container plan for your balcony or patio, with shopping lists and a planting schedule
$390
Maintenance and winterizing
Open and clean the filter every two to three weeks, more often if you’re on well water. Hard water leaves mineral deposits that clog emitters: if one plant wilts while its neighbors look fine, check its emitter first.
Where the ground freezes, drain the system in fall, before the first hard freeze: open the end caps, let the water run out, then bring the timer, backflow preventer, filter and regulator indoors, because ice cracks fittings and plastic housings. In spring, put everything back, flush the lines with the end caps open and check the emitters one by one before the first hot spell.