Winter pruning for fruit trees: when and how to cut
Apples and pears are pruned while dormant, stone fruit is better left for late winter or summer. The right cuts, the order to make them in and the tools you need.
Thomas Whitaker · · 4 min read
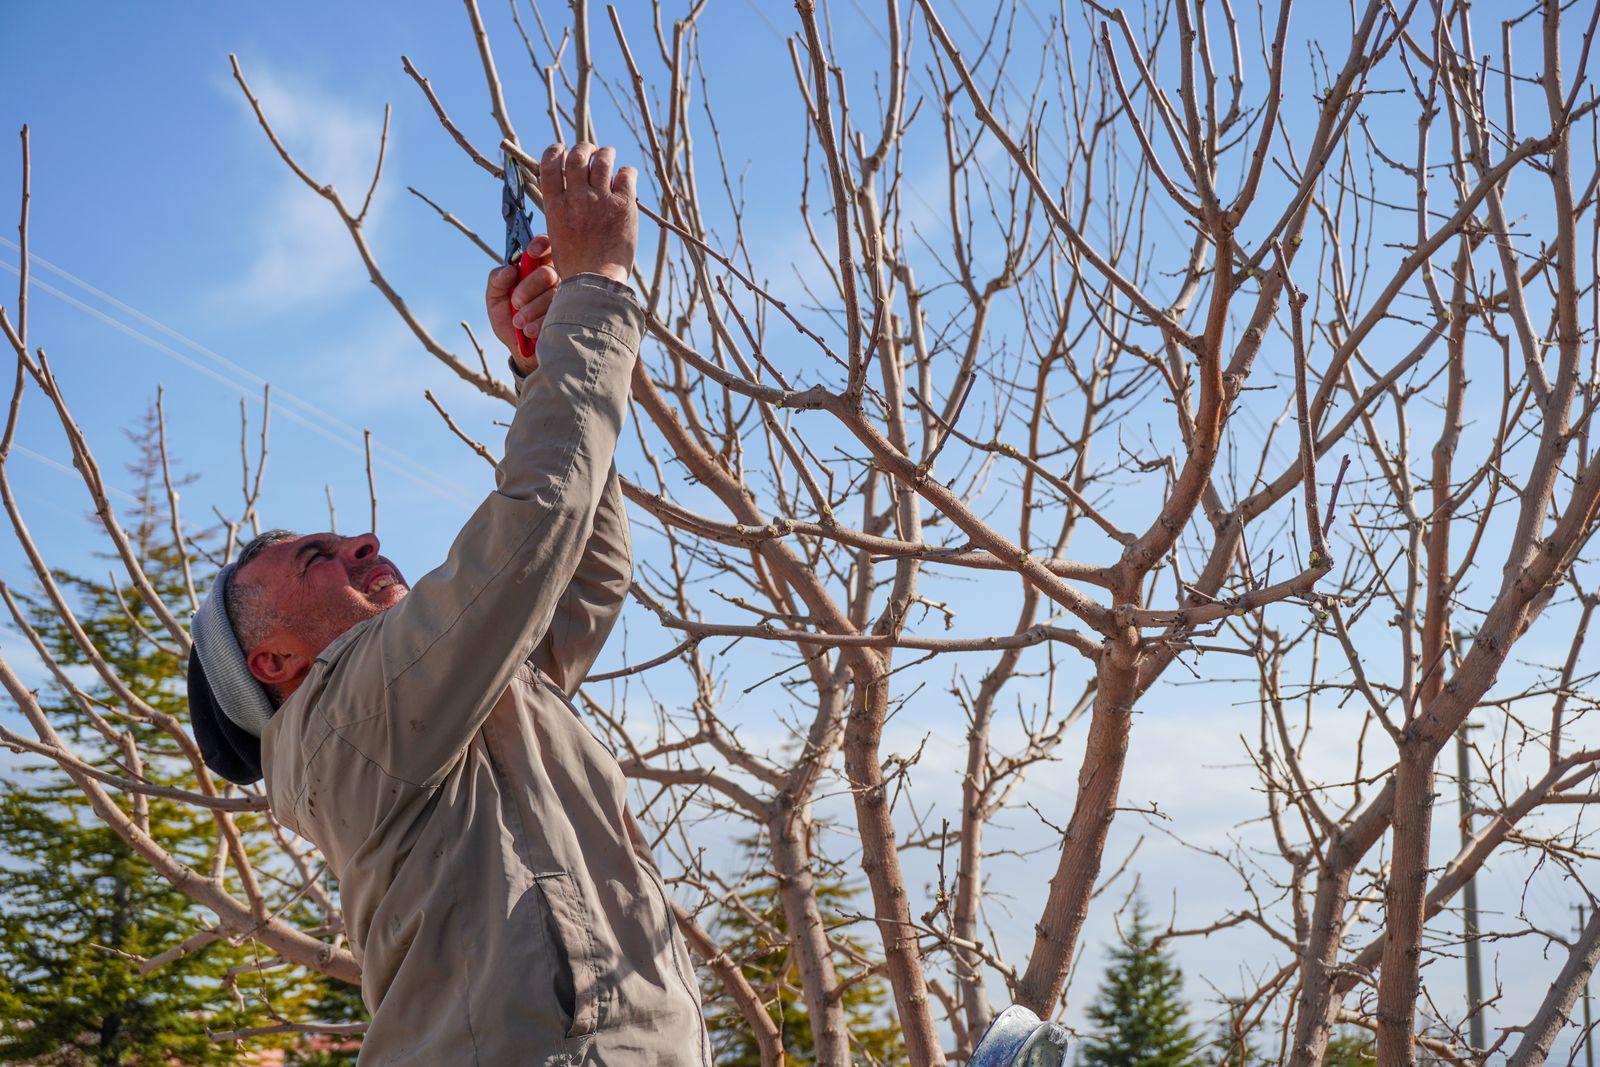
Winter pruning does three jobs: it removes dead and diseased wood, lets light into the canopy and keeps a balance between the branches that grow and the ones that bear fruit. It doesn’t make a tree grow more. Quite the opposite: the harder you cut, the more the tree answers with vigorous, unproductive shoots.
The right time varies from one fruit to another, and the weather on the day matters too.
When to prune: apples, pears and stone fruit
Apples and pears are pruned while dormant, between leaf drop and bud swell. In zones 6–7 the best window is late winter, from February into early March: the worst of the cold has passed, and with spring close, the cuts start to seal sooner.
Peaches, nectarines, apricots, plums and cherries, the stone fruits, handle winter cuts less well: the wounds stay open longer and let in canker diseases. Prune them in late winter or early spring, as the buds begin to swell and you can tell the flower buds from the leaf buds, or in summer after harvest. Where winters are wet, as in the Pacific Northwest and much of California, summer pruning is often the safer choice for apricots and cherries.
Either way, pick dry days without frost: below freezing the wood is brittle and splinters, and rain carries fungal spores and bacteria into fresh cuts. In zones 8–9 trees wake up earlier, so move everything two to three weeks ahead; in zones 3–5, wait until late February or March, once the hardest cold has passed.
Where the fruit grows
Before you cut, you need to know where each tree carries its fruit, or you risk pruning it away.
- Apples and pears: on spurs, short, stubby twigs an inch or two long with a fat flower bud at the tip, which keep producing for years. When they get crowded, thin them out instead of removing them all. Some varieties, known as tip bearers, also fruit at the ends of last year’s thin shoots, 6–12 inches long: don’t cut those back.
- Peaches and nectarines: on one-year-old shoots, the reddish growth from last summer, which carry both flower and leaf buds. A stretch that has fruited won’t fruit again, so every year you cut back to a new shoot near its base to renew the crop.
- Cherries and plums: mostly on spurs along wood that’s two years old or older, which keep fruiting for several years.
- Apricots: on spurs and on one-year shoots, somewhere between peaches and plums.
Tip: Flower buds and leaf buds
On apples and pears in winter, flower buds are plump and rounded, often a little fuzzy; leaf buds are small, pointed and pressed flat against the twig. Before you start, count them on a few branches: if the tree has few flower buds, prune lightly; if it has plenty, you can thin more.
The right cuts
There are three cuts. A thinning cut removes a whole branch where it starts, and lets in light. A reduction cut shortens a branch back to a younger, outward-facing side branch at least a third its diameter: it lightens the canopy without setting off a burst of new shoots. A heading cut, through the middle of a branch or shoot, does the opposite: it triggers several vigorous shoots just below the cut, so use it sparingly.
When you remove a whole branch, cut just outside the branch collar, the slight swelling where it joins the trunk: not flush with the trunk, and without leaving a stub. The collar is where the tree starts sealing the wound. For heavy limbs, use three cuts so the bark doesn’t tear: an undercut about a foot out, a top cut an inch or two farther out to drop the limb, then the final cut at the collar. When cutting back to a bud, cut about ¼ inch above it, angled away from the bud so water runs off.
Skip the pruning paint: a clean cut in the right place seals on its own. What matters more is sharp, clean blades. On apples and pears with fire blight, cut out infected branches in winter, at least 8 inches below the visible edge of the canker, and wipe your blades with rubbing alcohol before you move on to healthy wood.
The order of cuts
A fixed sequence keeps you from overdoing it. Before you start, walk around the tree and look at it from a few yards away.
- Remove dead, broken and diseased wood.
- Take out suckers, which come up from the base or the roots, and water sprouts, the vigorous vertical shoots along the branches.
- Remove branches that cross, rub or grow toward the center of the tree.
- Thin crowded areas so light reaches the inside of the canopy.
- Only then shorten branches that are too long, with reduction cuts.
Stop when you’ve removed about a quarter of the canopy. A tree that has been neglected for years should be brought back over two or three winters: prune it hard all at once and the next year you get a thicket of water sprouts and very little fruit.
Live class · Starts Jan 16
Winter Pruning Clinic
Apple, pear and plum pruning demonstrated live, with your own trees reviewed from photos
$240
The tools
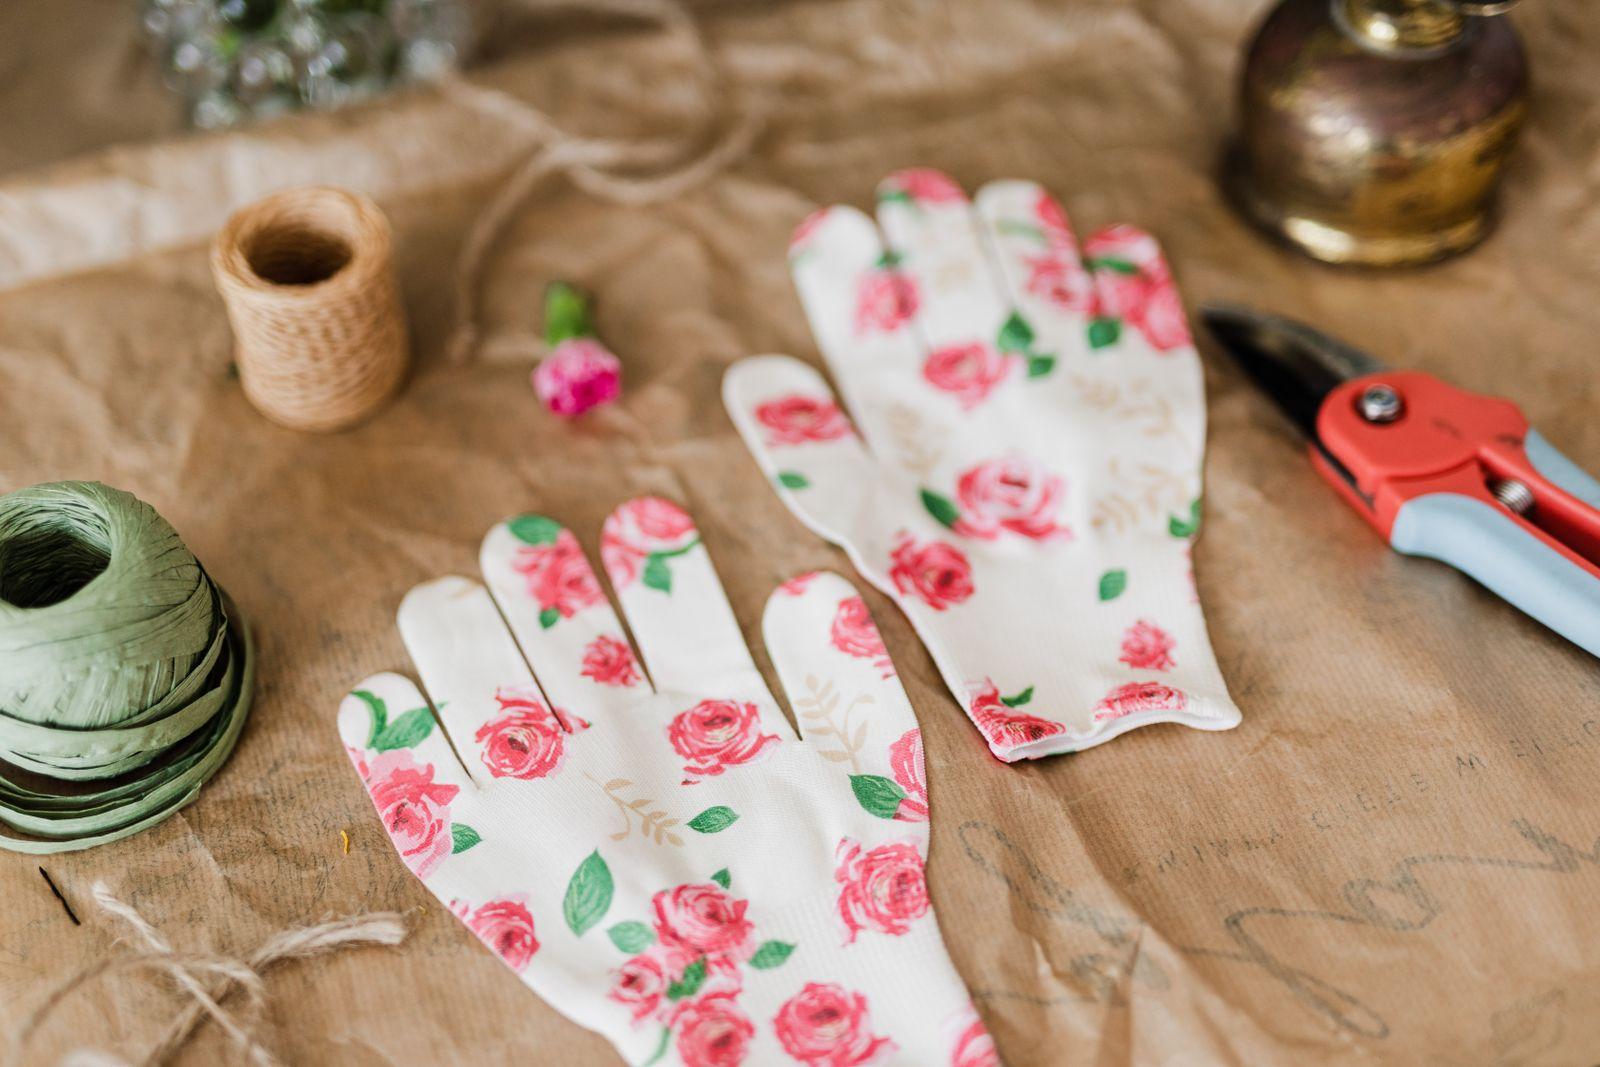
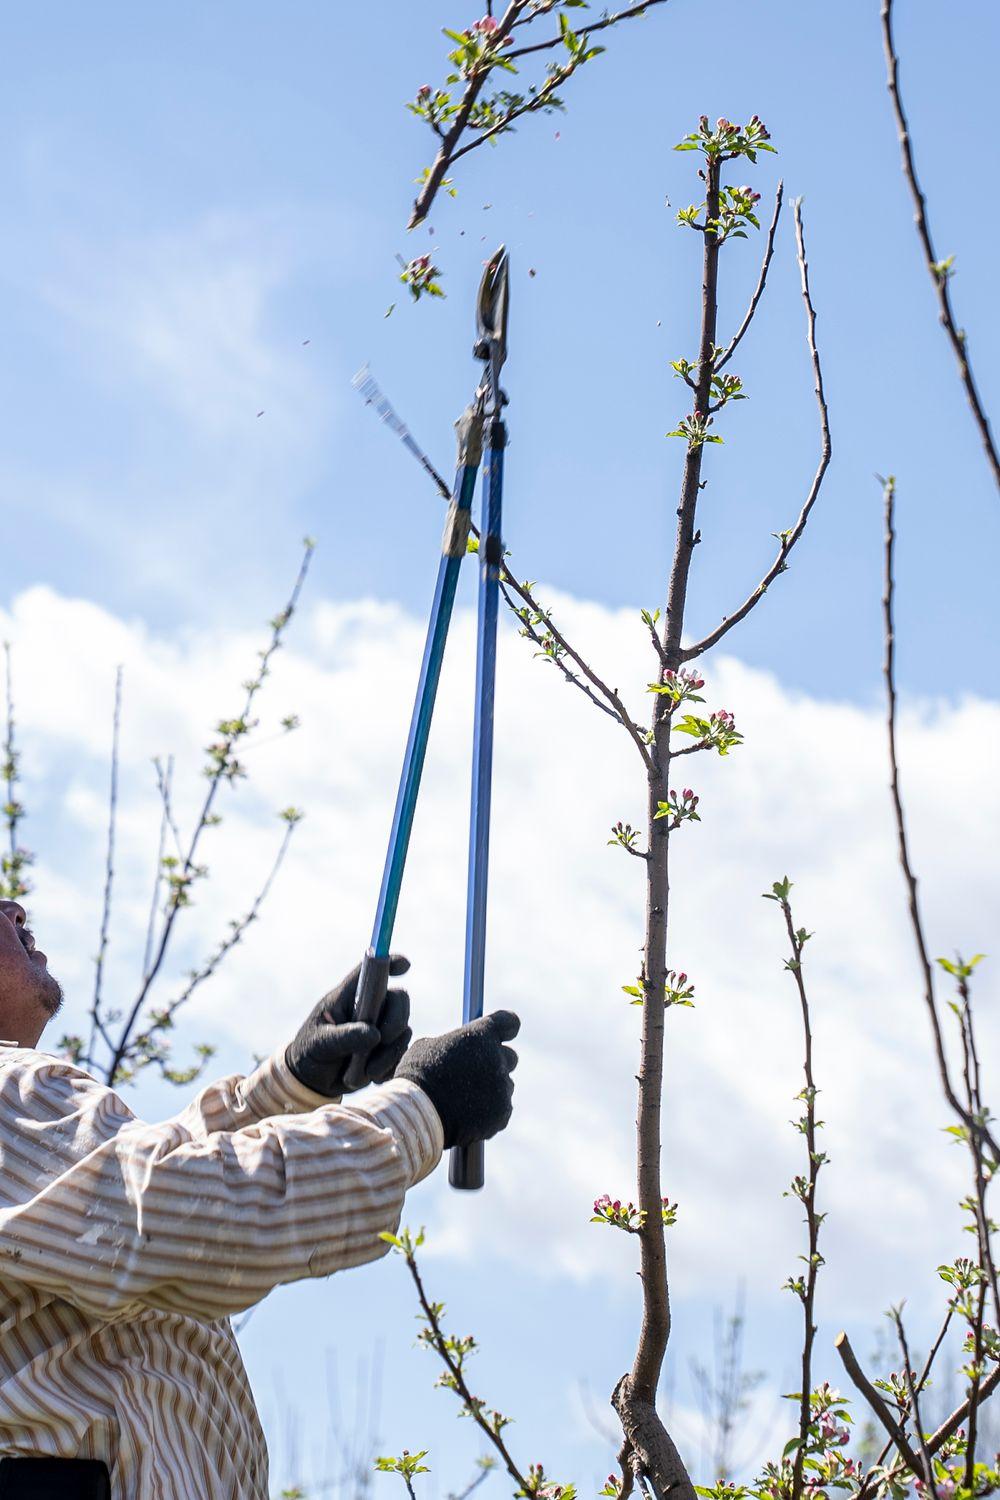
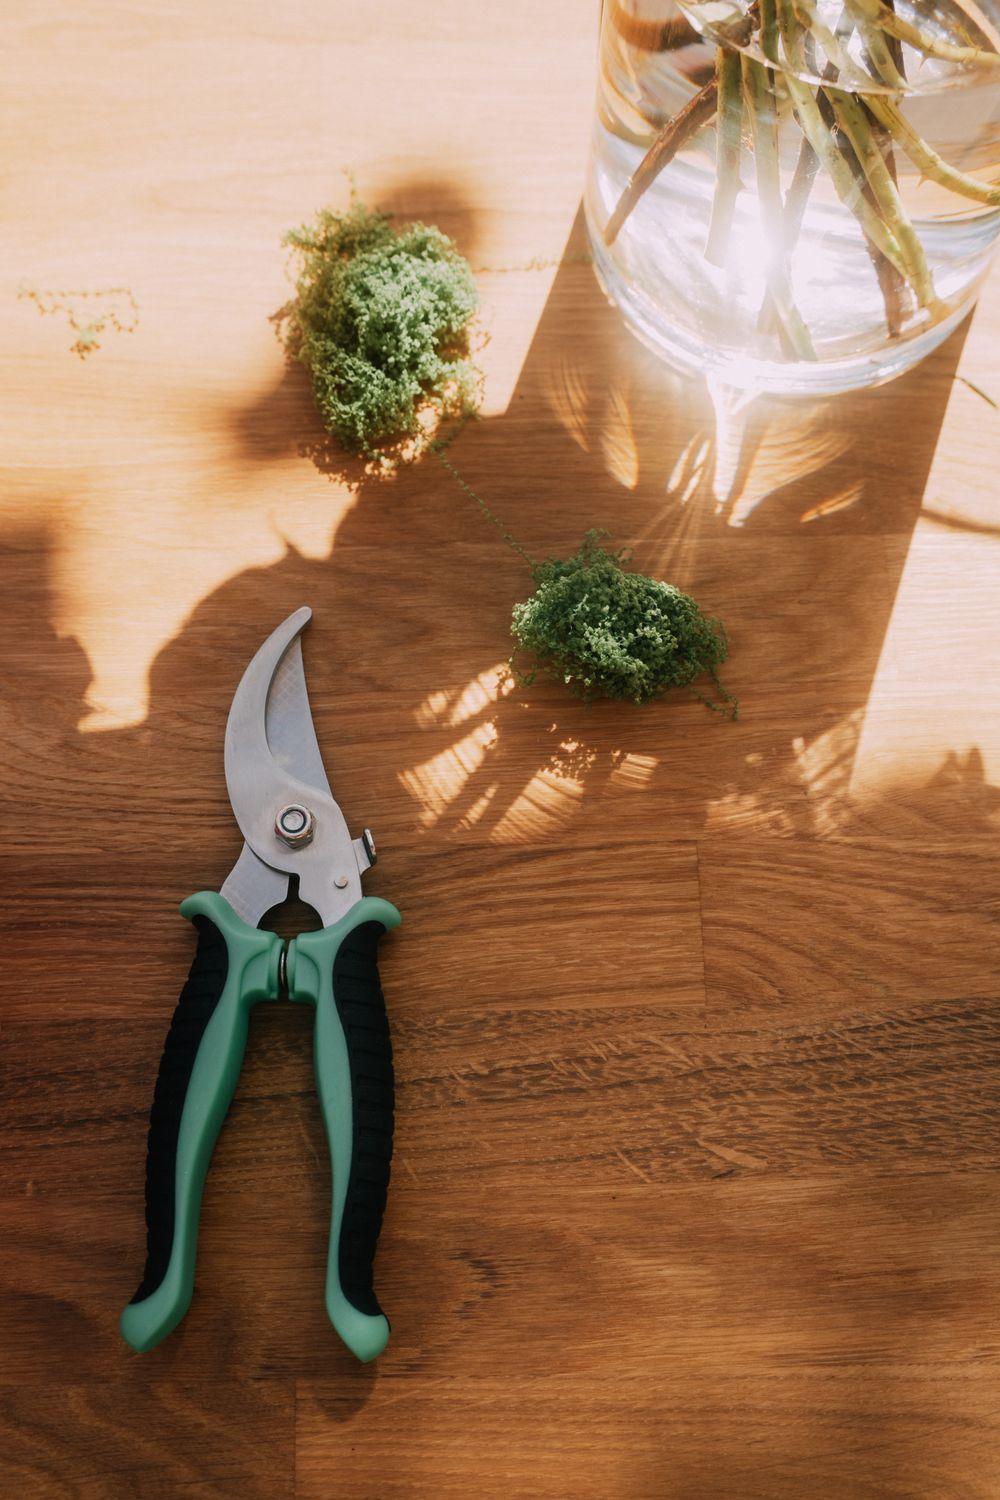
Three tools are enough: bypass pruners for branches up to ¾ inch, loppers up to about 1½ inches and a pruning saw for anything bigger. Anvil pruners crush living tissue, so keep them for dead wood. Sharpen the blades before you start.
At the end of the day, gather up the prunings. Healthy wood, chipped, can go in the compost or under the trees as mulch; diseased wood, such as branches with fire blight or plum branches with black knot, should leave the property, not sit under the tree. If this is your first winter with pruners in hand, start with a single tree and our Pruning Masterclass; for each fruit in more detail, there’s The Home Orchard.